Hardware Setup
Radish talks to ClimateTalk networks over RS-485. You need an ESP32 (or compatible) device running ESPHome, plus an RS-485 transceiver. Assemble the kit here; connect to the HVAC bus only after Software Setup, in Wire and Verify.
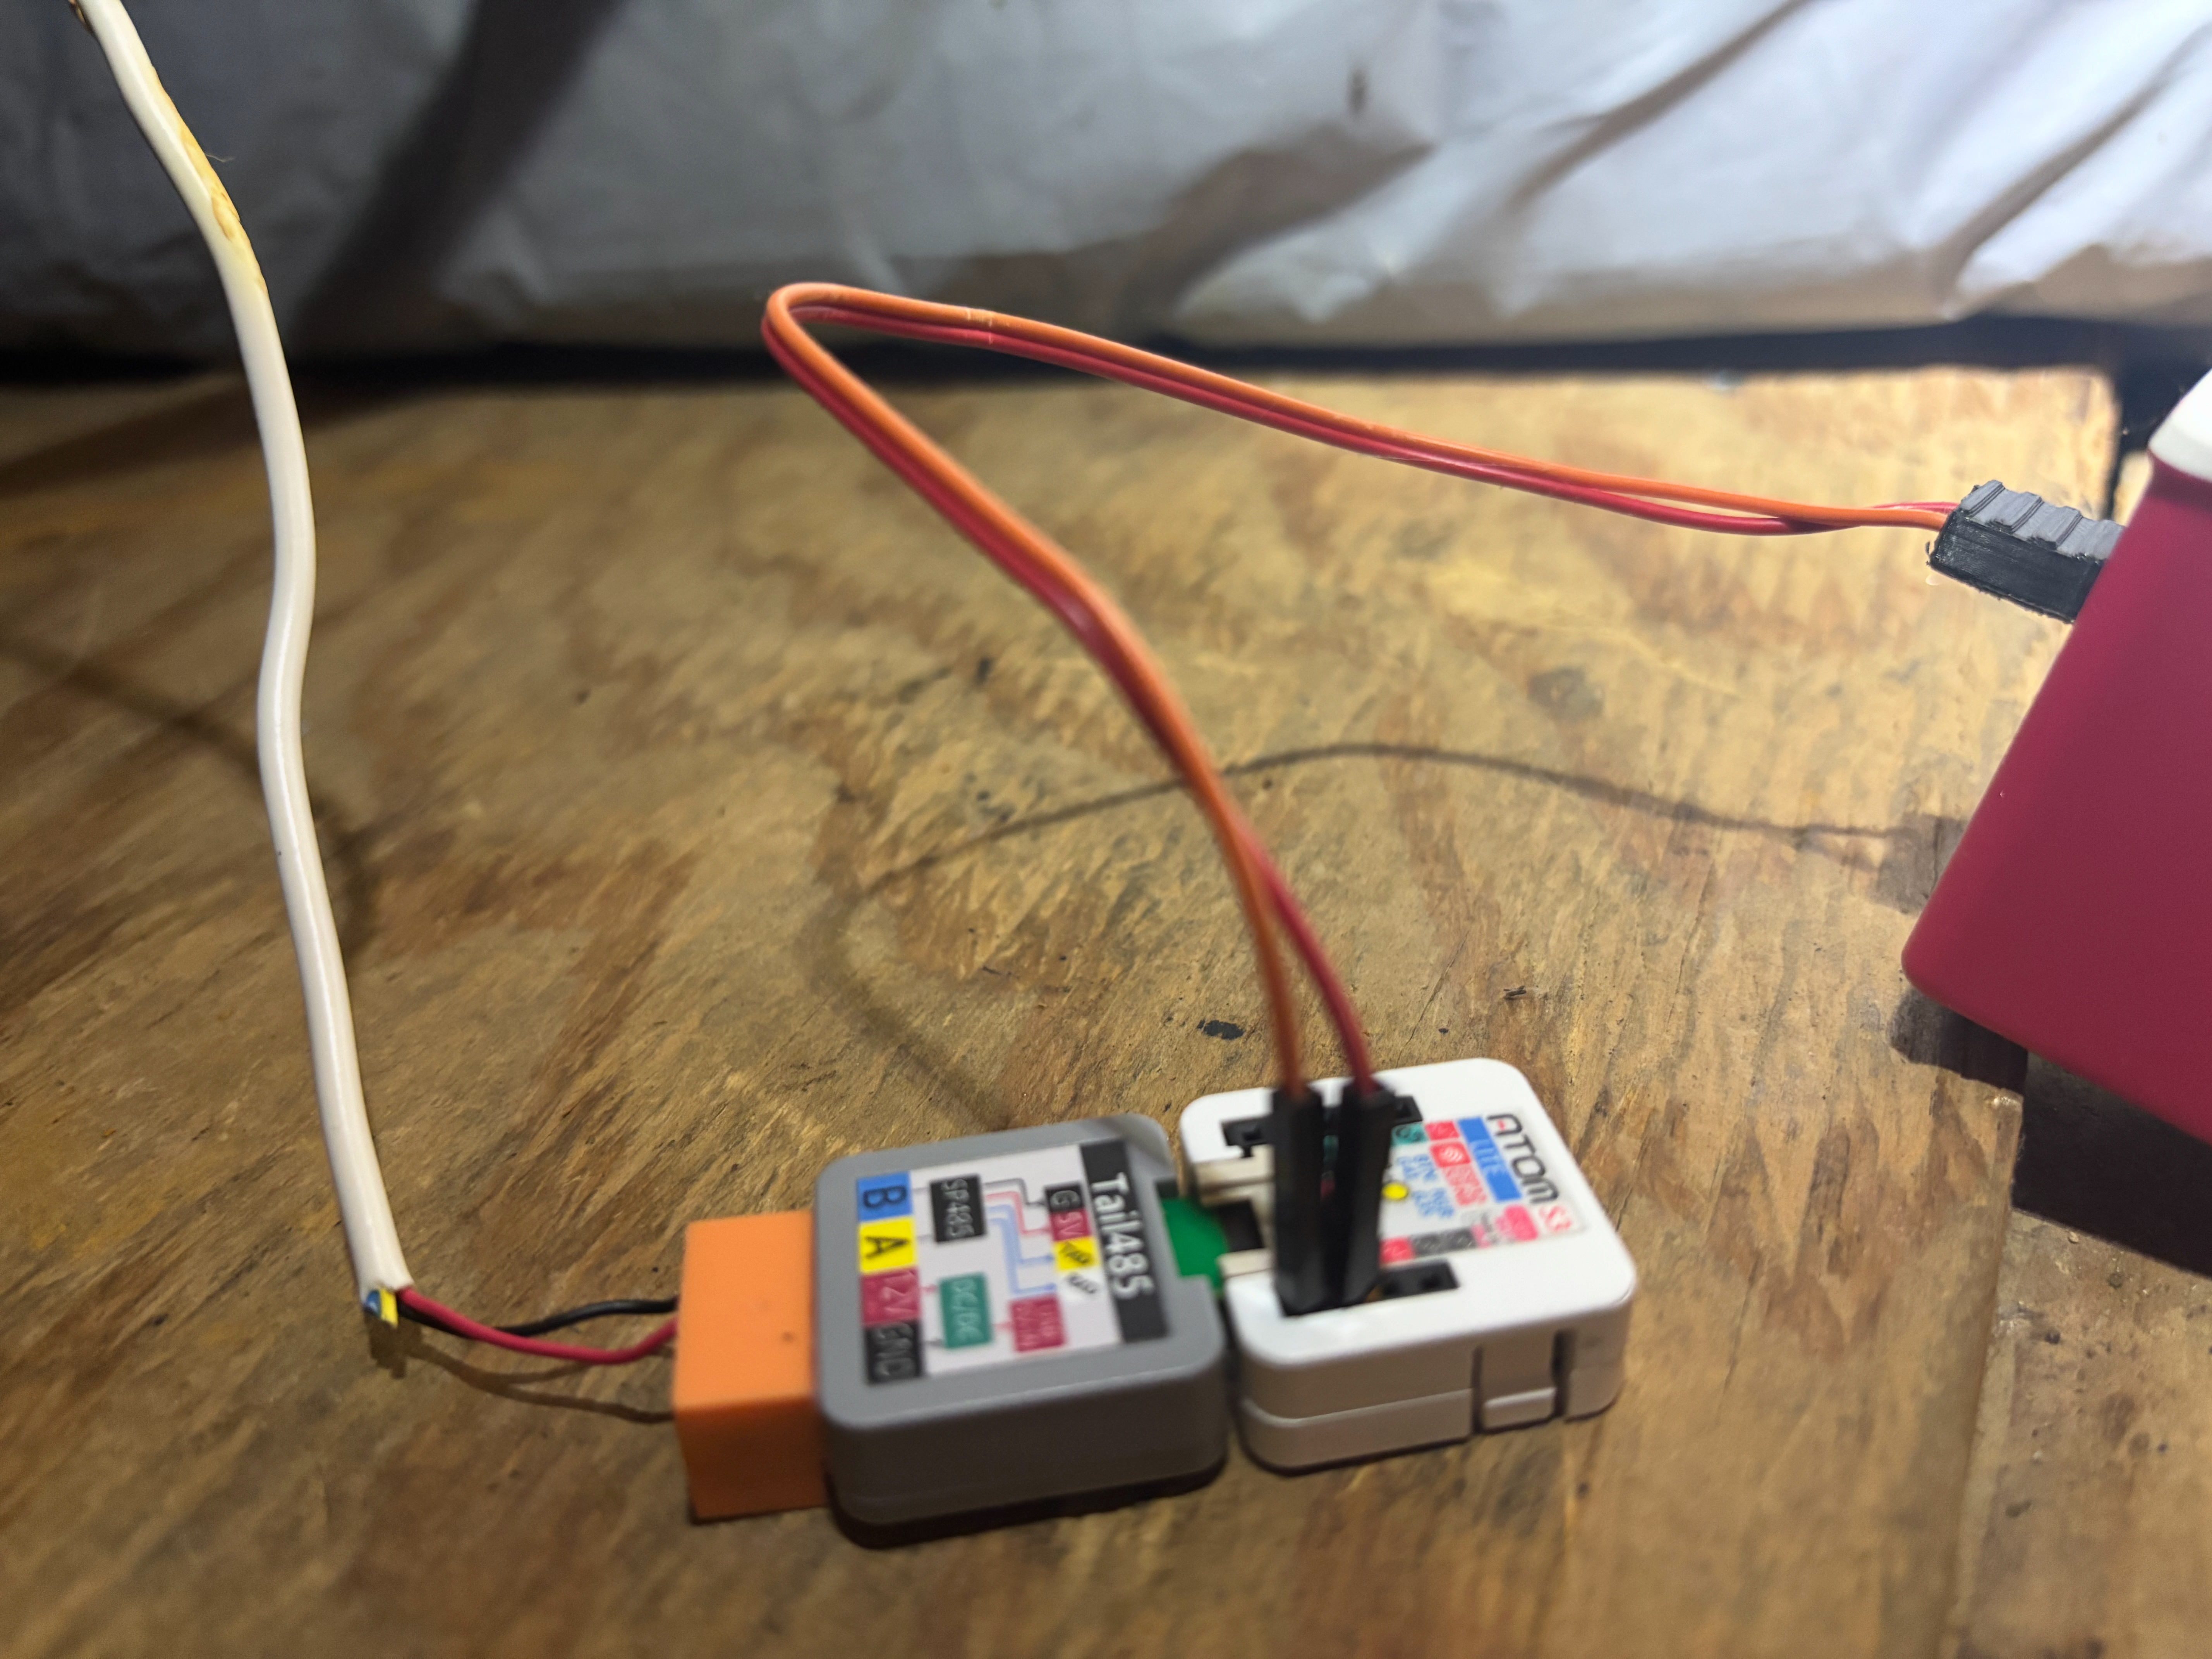
Recommended kit
Known-good setup:
| Role | Part | Notes |
|---|---|---|
| MCU | AtomS3 Lite | ESP32-S3 Wi‑Fi “brain” used by the stock radish.yaml / radish2.yaml profiles |
| Transceiver | Tail485 | RS-485 adapter that plugs onto the Atom |
| Power | USB or dedicated 5V/12V supply | Enough current for the Atom + transceiver. Prefer a supply separate from the HVAC control transformer (see Power below). |
These M5Stack parts are inexpensive and compact. Other ESP32 boards and a generic RS-485 converter (for example a MAX485 breakout) also work if you map UART TX/RX and DE/RE correctly in YAML.
Power
Preferred: USB or a dedicated DC supply sized for the MCU + RS-485 module. The known-good setup uses a 3D-printed USB-to-Dupont 5V adapter and jumper wires to the 5V/GND pins on the Atom.
Powering from the R/C (24 VAC) wires after converting to DC should be possible (as that is what thermostats do), but it is easy to introduce noise or ground-loop problems on the data bus. In particular, a 24T1812 24 VAC → 12 VDC converter caused ClimateTalk communication faults in testing — treat that module (and similar cheap VAC→DC bricks on R/C) as risky until you have verified bus health with a separate supply first.
If you do experiment with R/C-derived power, use an isolated RS-485 path when possible, and fall back to USB/dedicated DC if hex traffic looks wrong or the HVAC reports communication errors.
Alternative M5Stack RS-485 options
| Module | Notes |
|---|---|
| Atomic 485 Base | Allows powering setup via USB‑C Has convenient mounting holes However, uses most of the Atom’s GPIO pins. |
| RS485 to TTL Converter Unit | Leaves the Atom USB‑C port and GPIO pins available Less of a single package form-factor due to ribbon connector |
| Isolated RS485 Unit | Galvanic isolation — the safest choice to reduce risk of damaging HVAC electronics or creating ground loops |
Prefer an isolated transceiver whenever the ESP32 and the HVAC share different power domains or long cable runs.
Assemble (off-bus)
- Mate the AtomS3 (or other ESP32) with the chosen RS-485 module.
- Plan power from USB or a dedicated 5V/12V supply (at least initially; see Power before using R/C→DC).
- Leave the HVAC data pair disconnected until software is confirmed healthy.
Stock radish.yaml / radish2.yaml assume AtomS3 Lite + Tail485 UART pins (GPIO1 RX / GPIO2 TX). For other boards or modules, set TX/RX (and DE/RE if required) in YAML before flashing.
Next steps
Flash and prove Wi‑Fi/MQTT in Software Setup, then tap the bus in Wire and Verify.